Decorate Your Own Kraslice for Easter
A DIY Tutorial

–
Easter is just around the corner! In the following week, most of the Czech families will be busy with the spring cleanup, cooking and baking the traditional festive goodies, and decorating their homes for the upcoming holiday. While it’s impossible for you to experience all this in our country this year, there are still ways for you to Czech up your Easter – and here’s the most fun of them all. Get your creative fluids going and learn one of the many methods of decorating eggs – Czech folklore style.
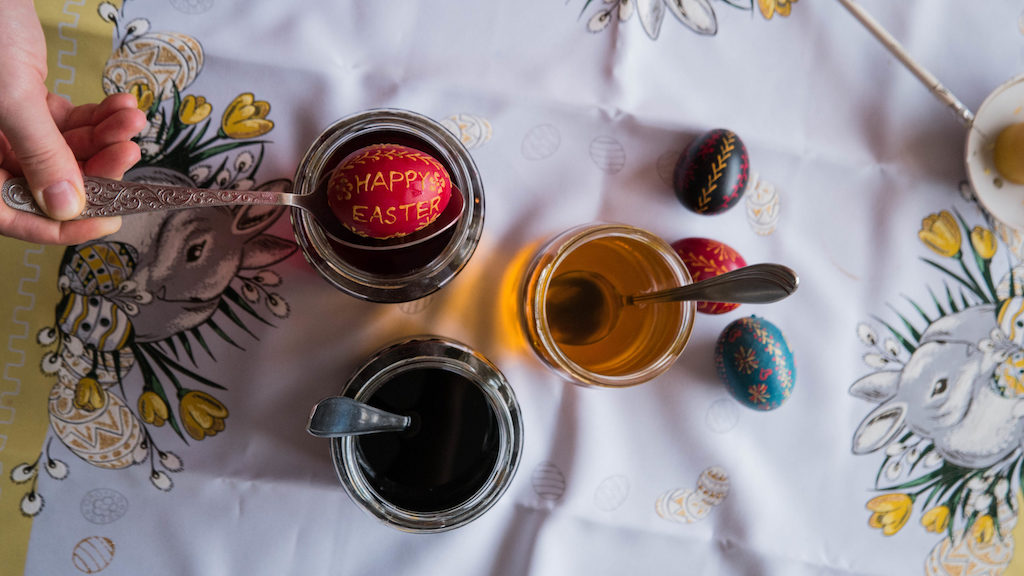
What will you need?
To decorate the eggs, the very first thing you need is… eggs. We prefer using hard-boiled ones, but if you want your decorations to last longer, you might want to use empty eggshells instead. Colour-wise, if you can get pristine white eggs that’s obviously the best, but don’t get discouraged if they are beige or light brown. That’s what egg dye is for!
Speaking about egg dye – there are few options for you to choose from. As a quick solution (pun intended!) we recommend dedicated egg dye or food colouring. If you want to use more natural options, make sure to prepare them ahead of time. Depending on the colour you will need different ingredients – turmeric for yellow, onion peels for dark orange or even burgundy, beetroot for pink, red cabbage for blue, and spinach for green… Boil them in around 2 cups of water for at least 30 minutes, then add a tablespoon of vinegar. Let it cool down and put the eggs in the liquid. It is going to take much longer for the eggs to get the desired colour, but the result will definitely be worth it.
Since we will be using a batik technique, we need some kind of repellent for our pattern to be visible. Our choice is bee wax, but any candle will have a similar result. Light that candle and wait for it to create a nice pool of liquid wax for us to work with.
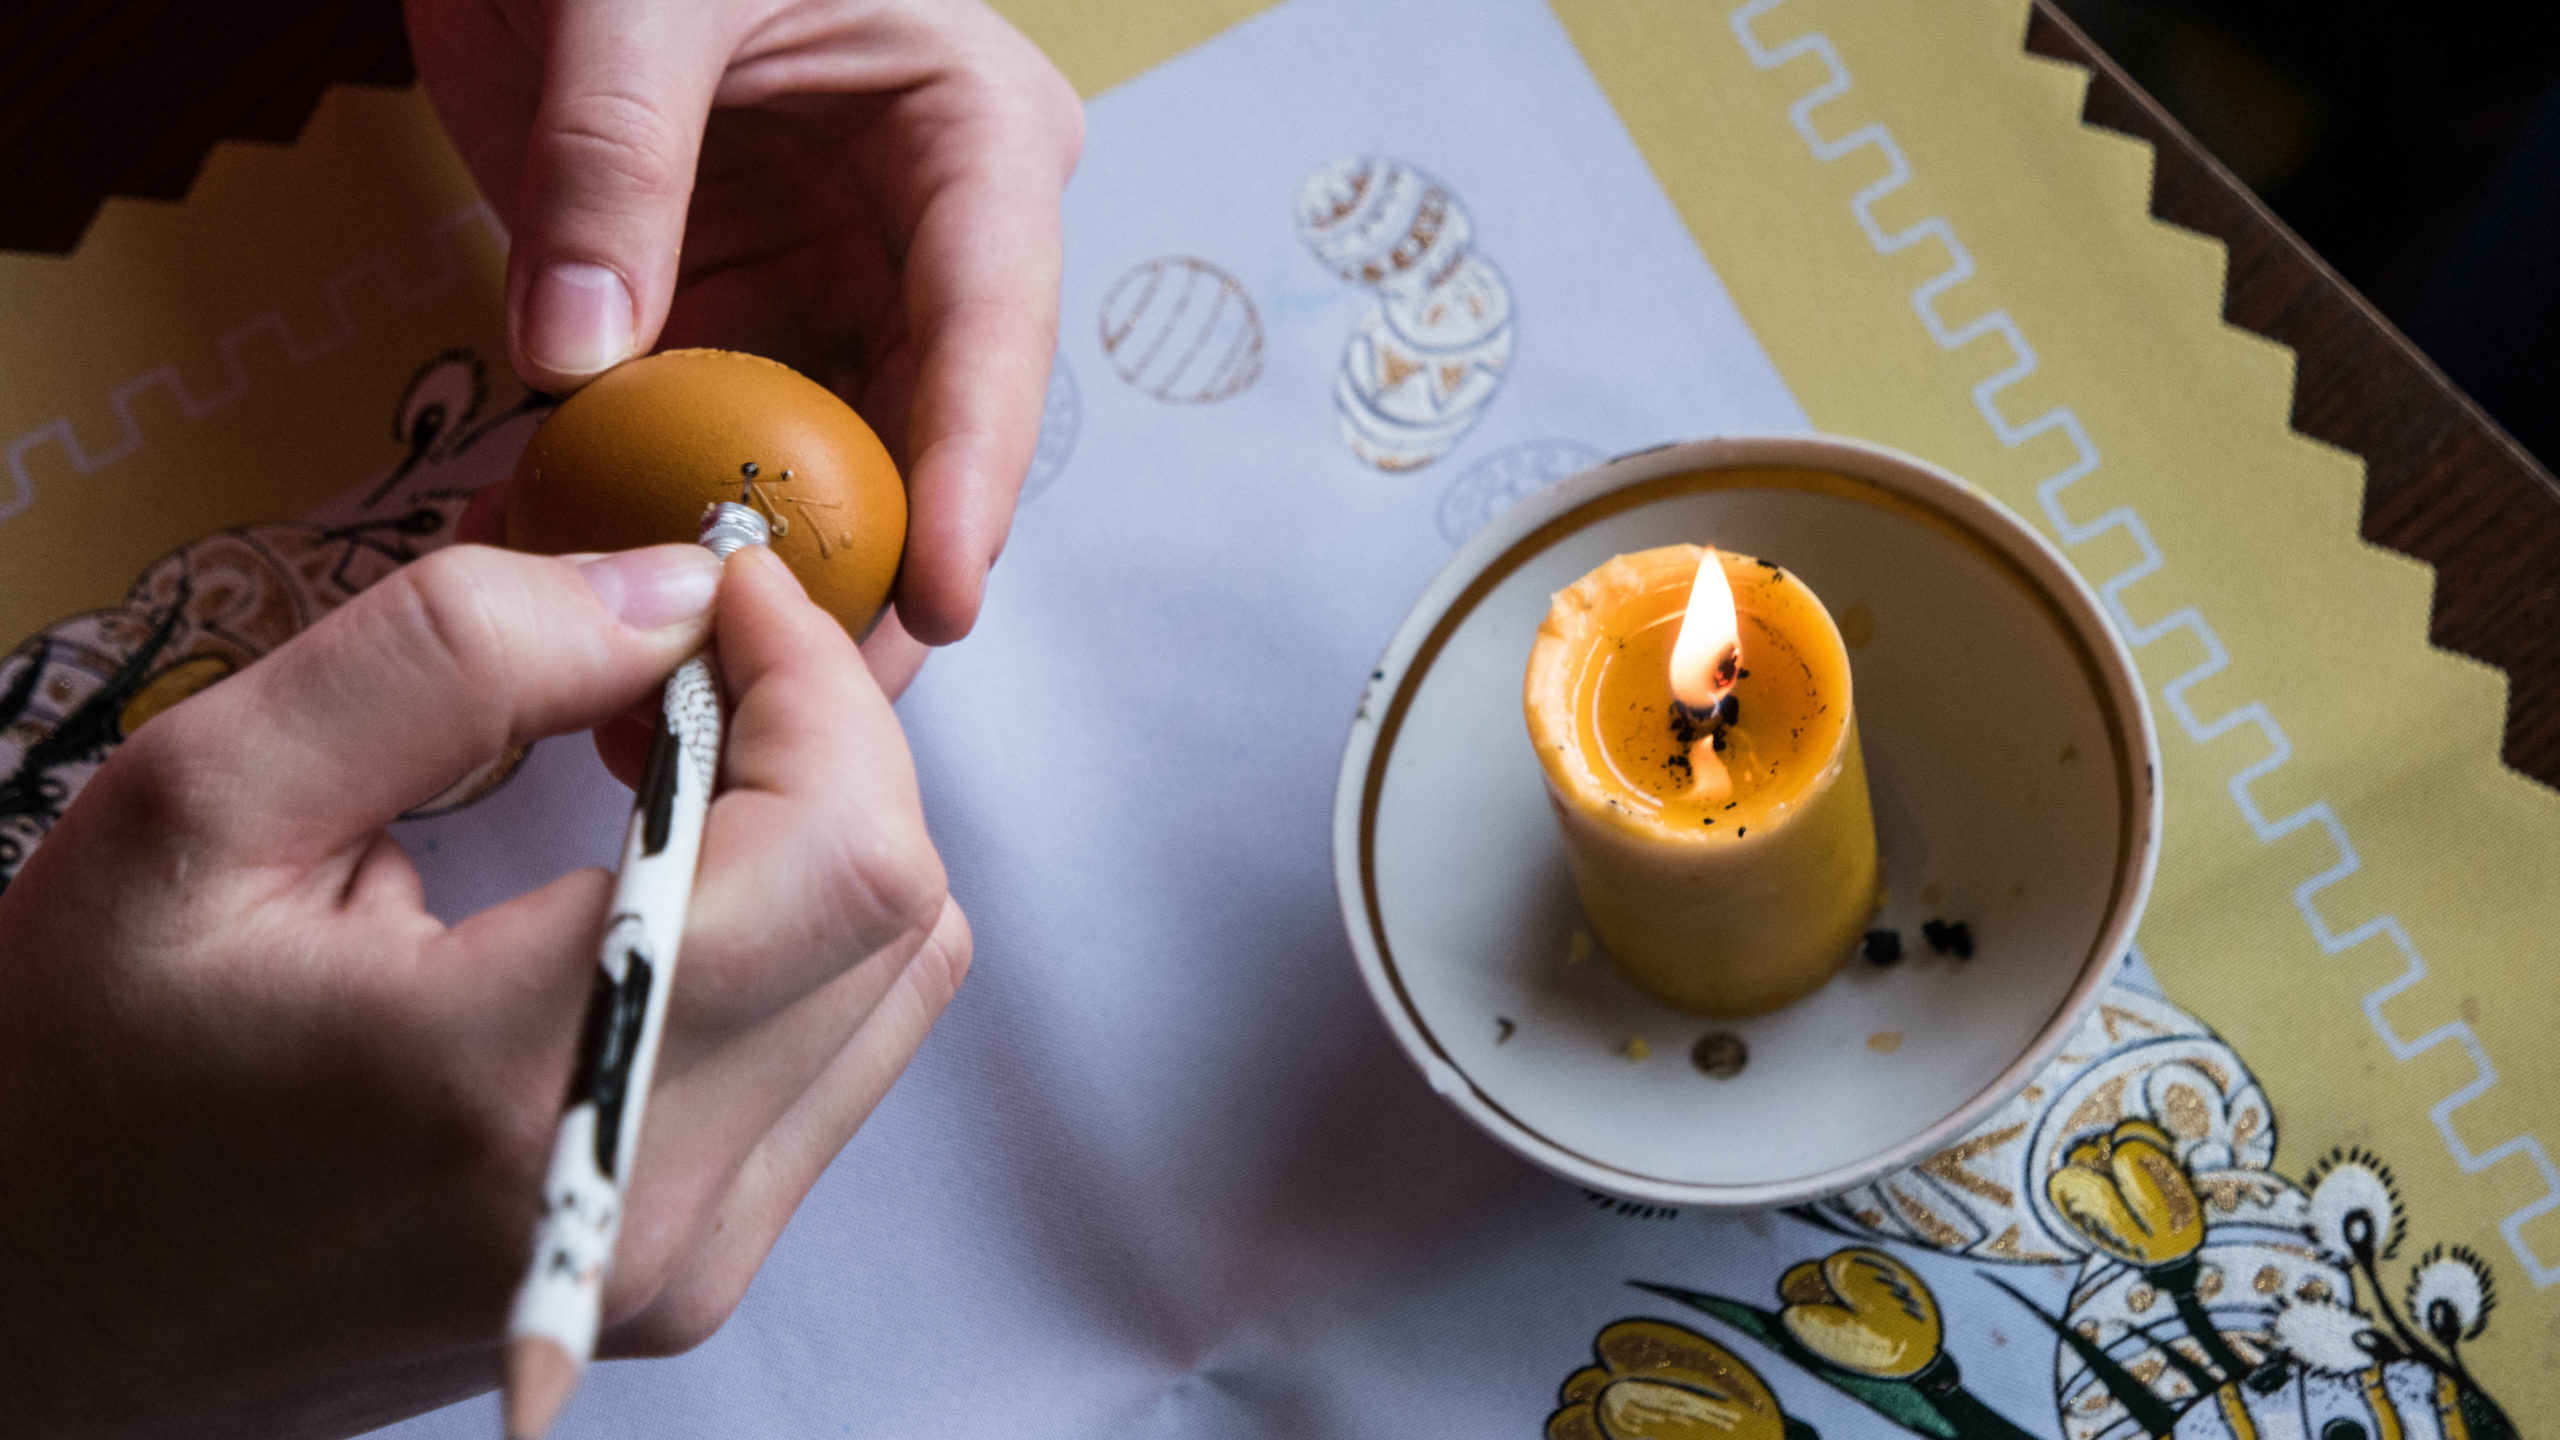
And finally, the tool we will be using – an absolutely hi-tech invention. Take a pencil with an eraser at the end and a sewing pin with a metal head. Stick the pin into the eraser and voliá, you have a professional egg-decorating tool right there. Great job!
Important notice: make sure to prepare your workspace as well. Instead of a fancy Easter-themed tablecloth, go for a layer of newspapers. Stack up on paper towels as well! You will not regret it.
The technique
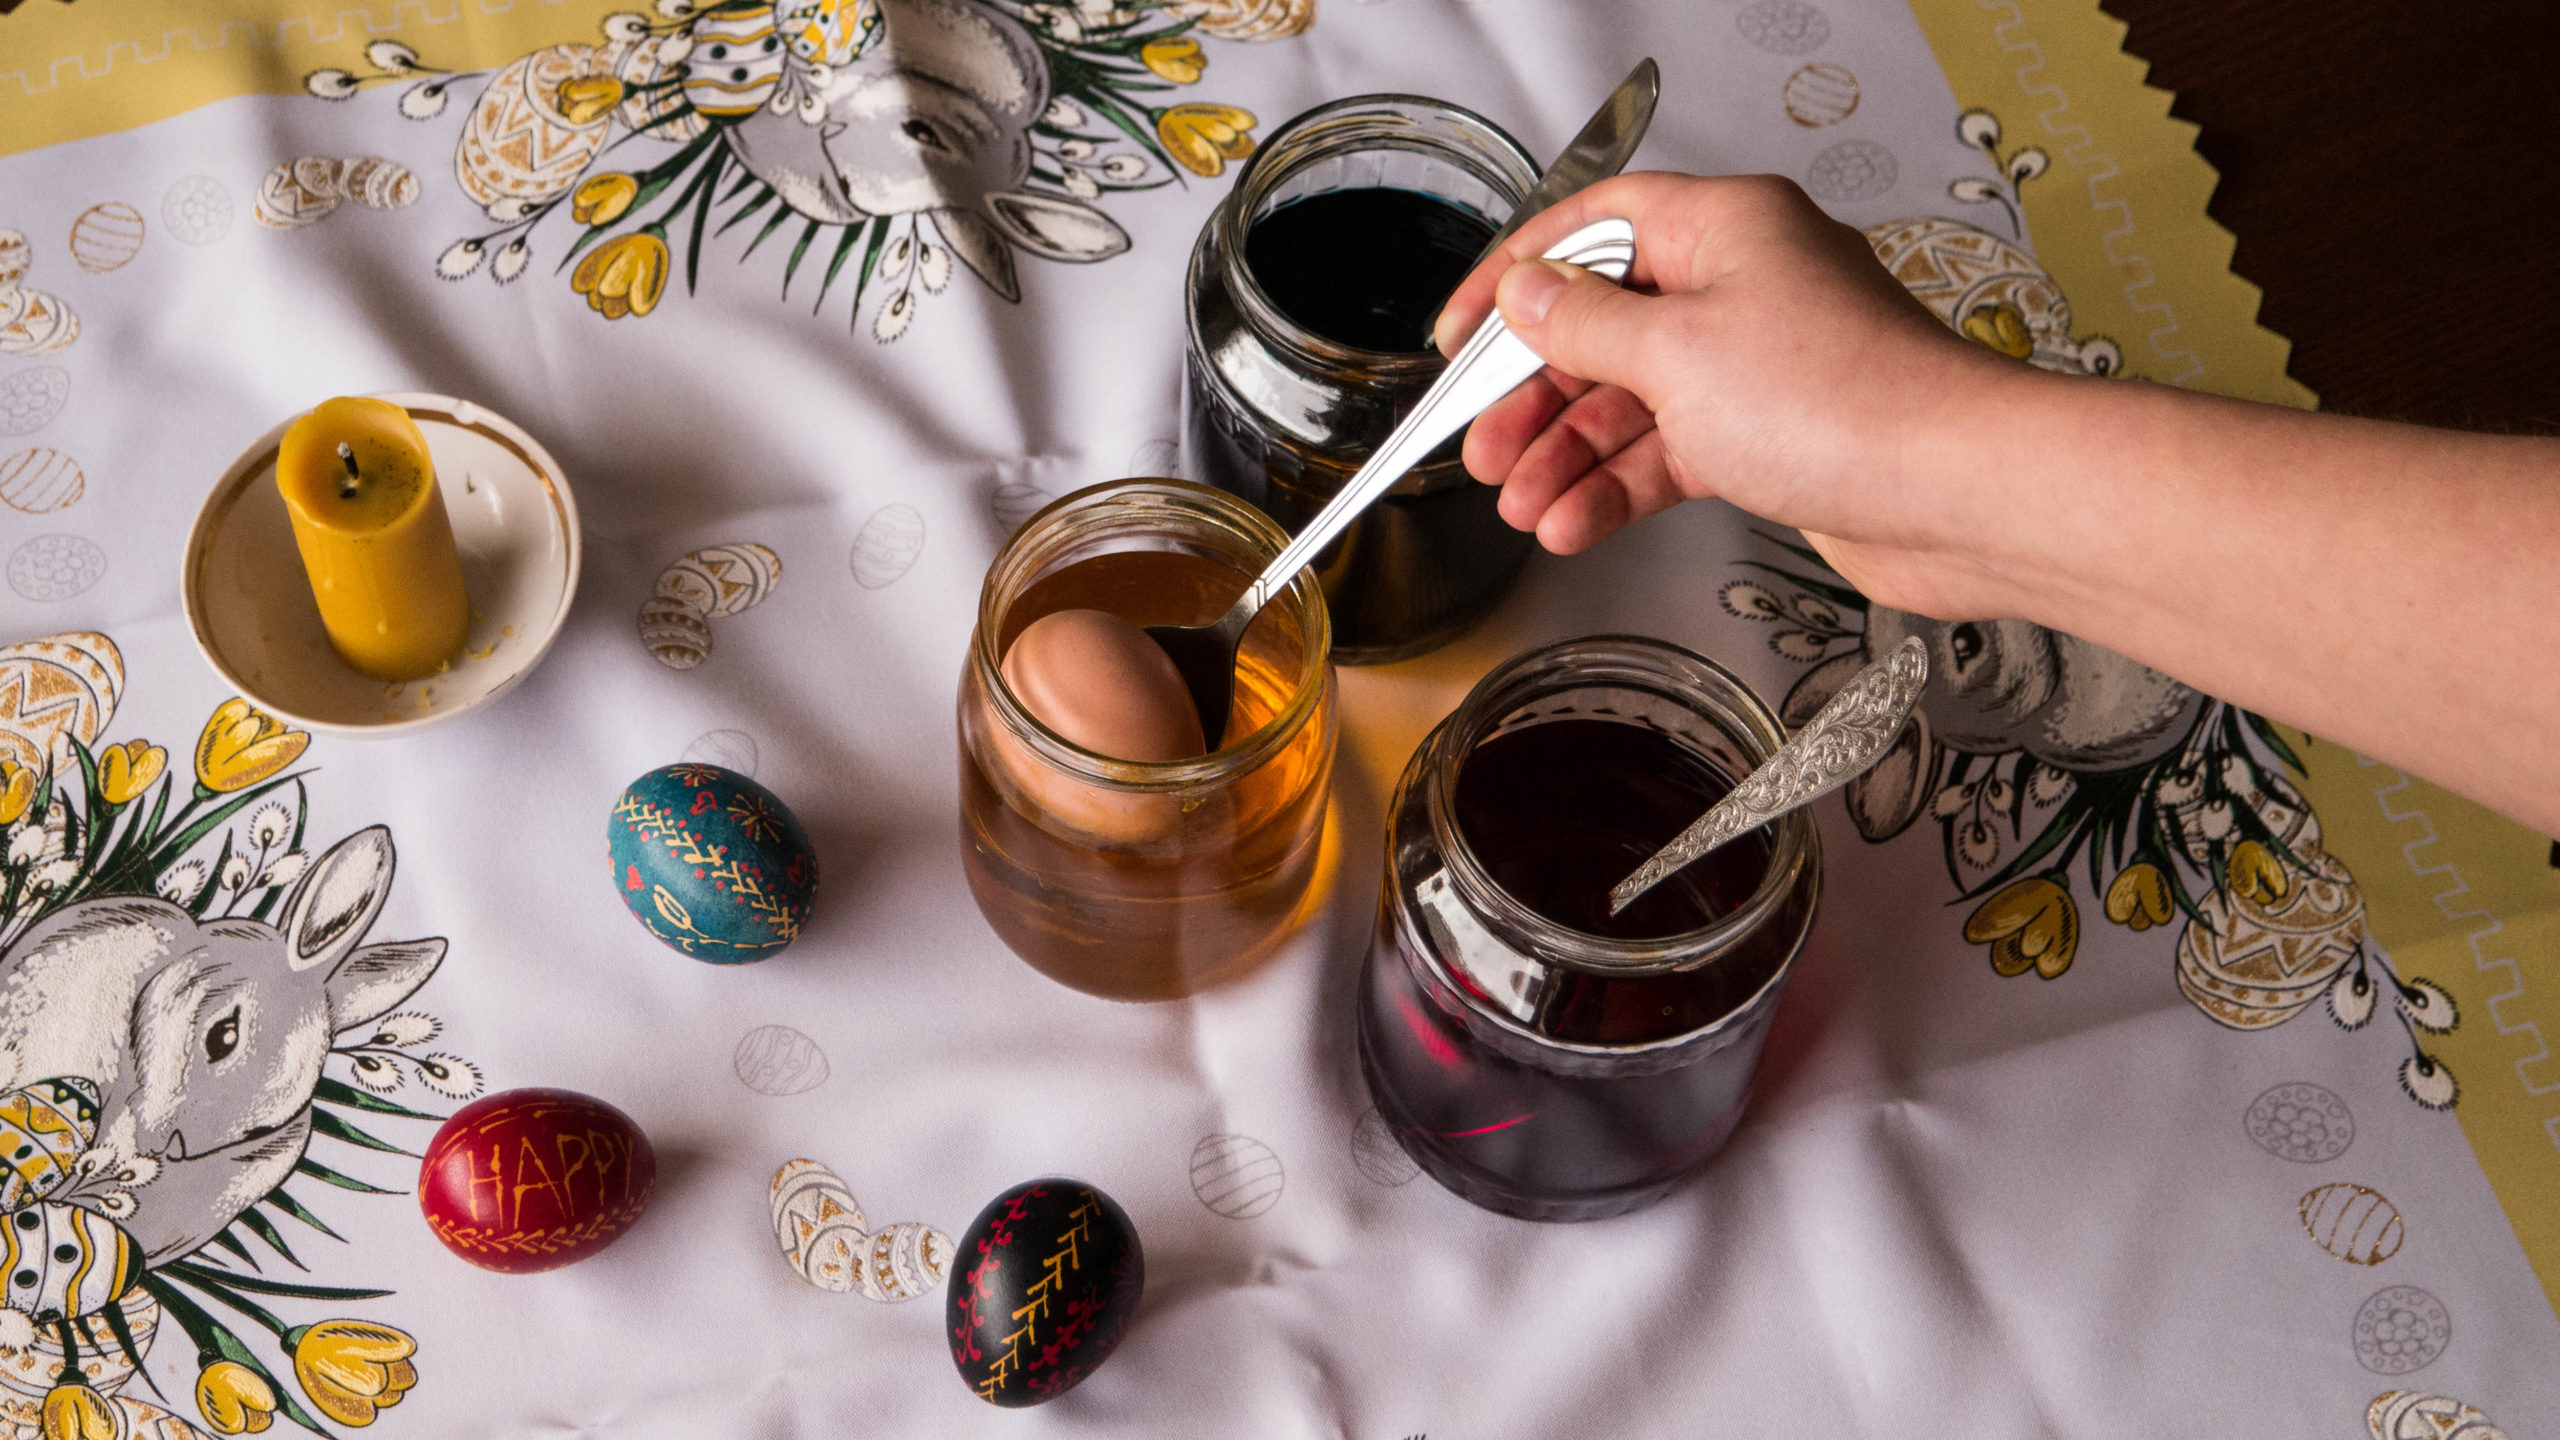
Very symbolically, it all starts with an egg. If it’s white, you can go right into decorating it – if it is any other colour, you might want to get a base layer of dye in there. Since we will go from the brightest to the darkest colour, we recommend starting with yellow.
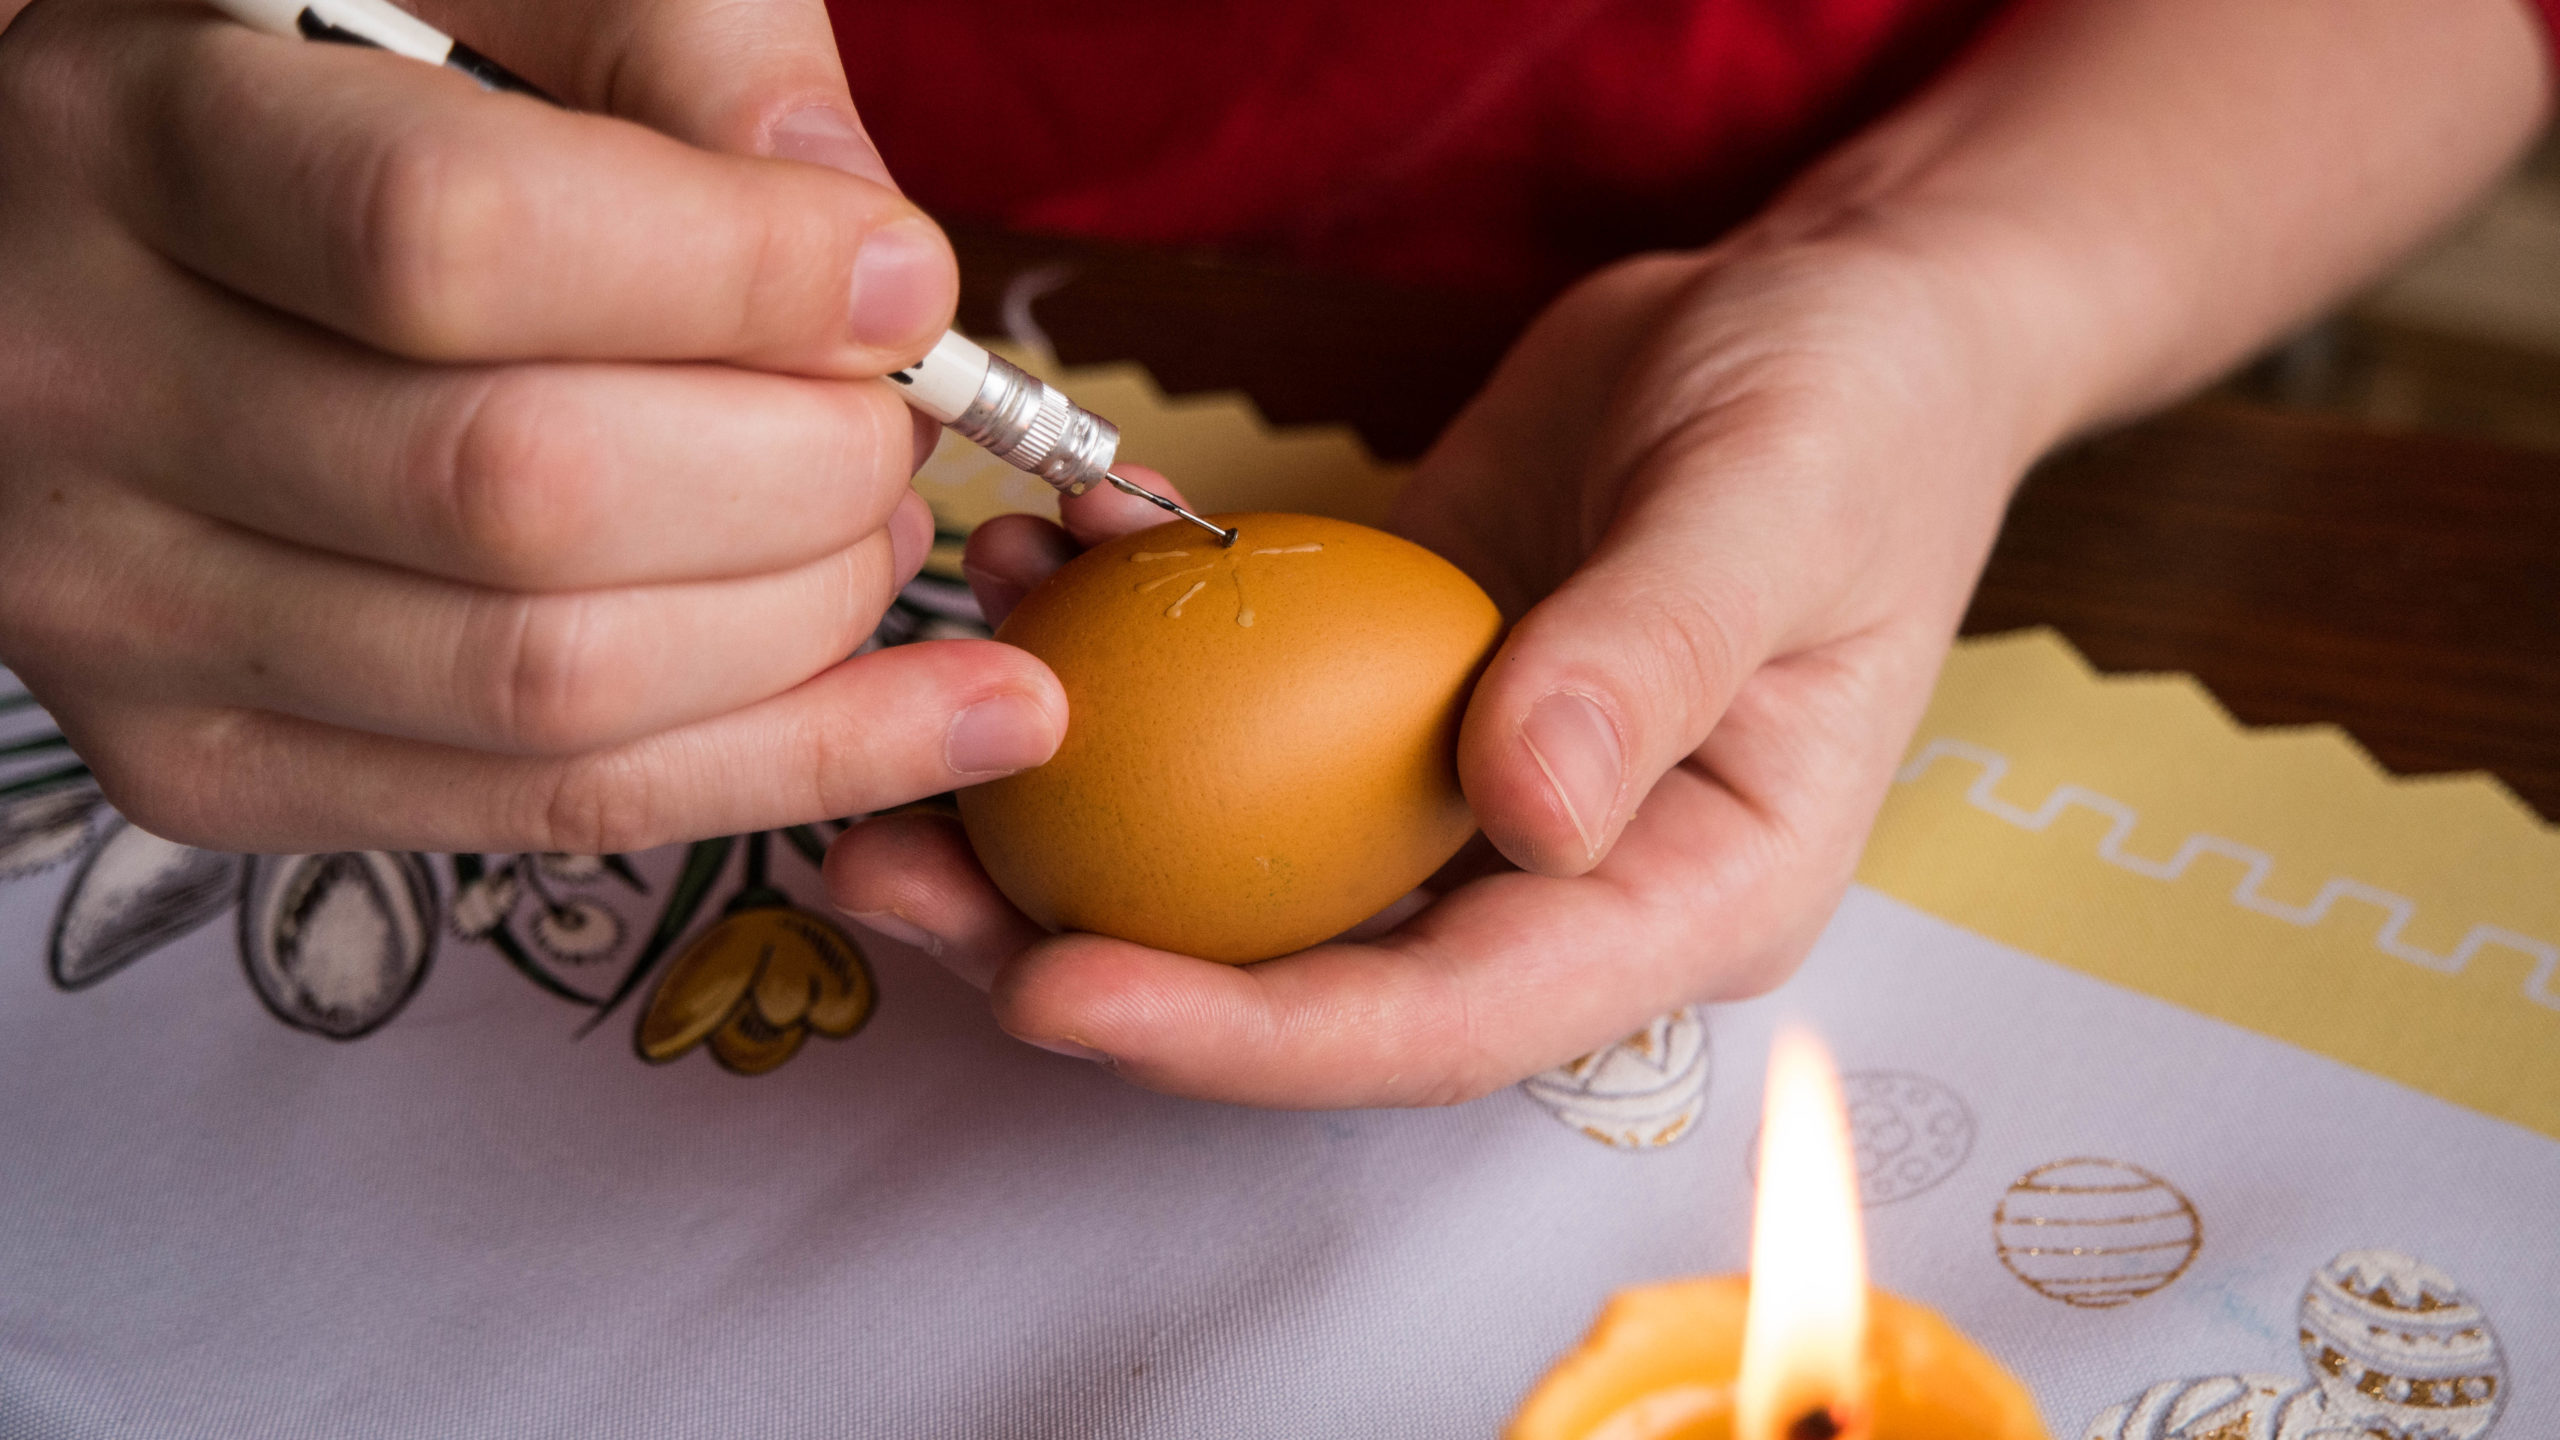
Once we have our egg in the desired colour, we can start decorating – it is important to remember that whatever we draw now will remain yellow (or white). At its core, the technique we are using here might seem a bit counter-intuitive – we cover with wax things that we don’t want to get coloured anymore. The basic shape we will be using is a prolonged drop (or, to put it better, a line that is more robust at one end), which gives us a lot of options. The most popular patterns are a daisy (the simplest of the flowers, as you can see in the picture below) and a braid, dividing the egg into smaller sections. As you master those two, you will get more and more confident and then – the sky is the limit!
When you are happy with your design, put the egg on a spoon and carefully place it in the next colour. Remember, we’re going from lightest to darkest, so don’t jump straight ahead to blue unless you are absolutely sure!
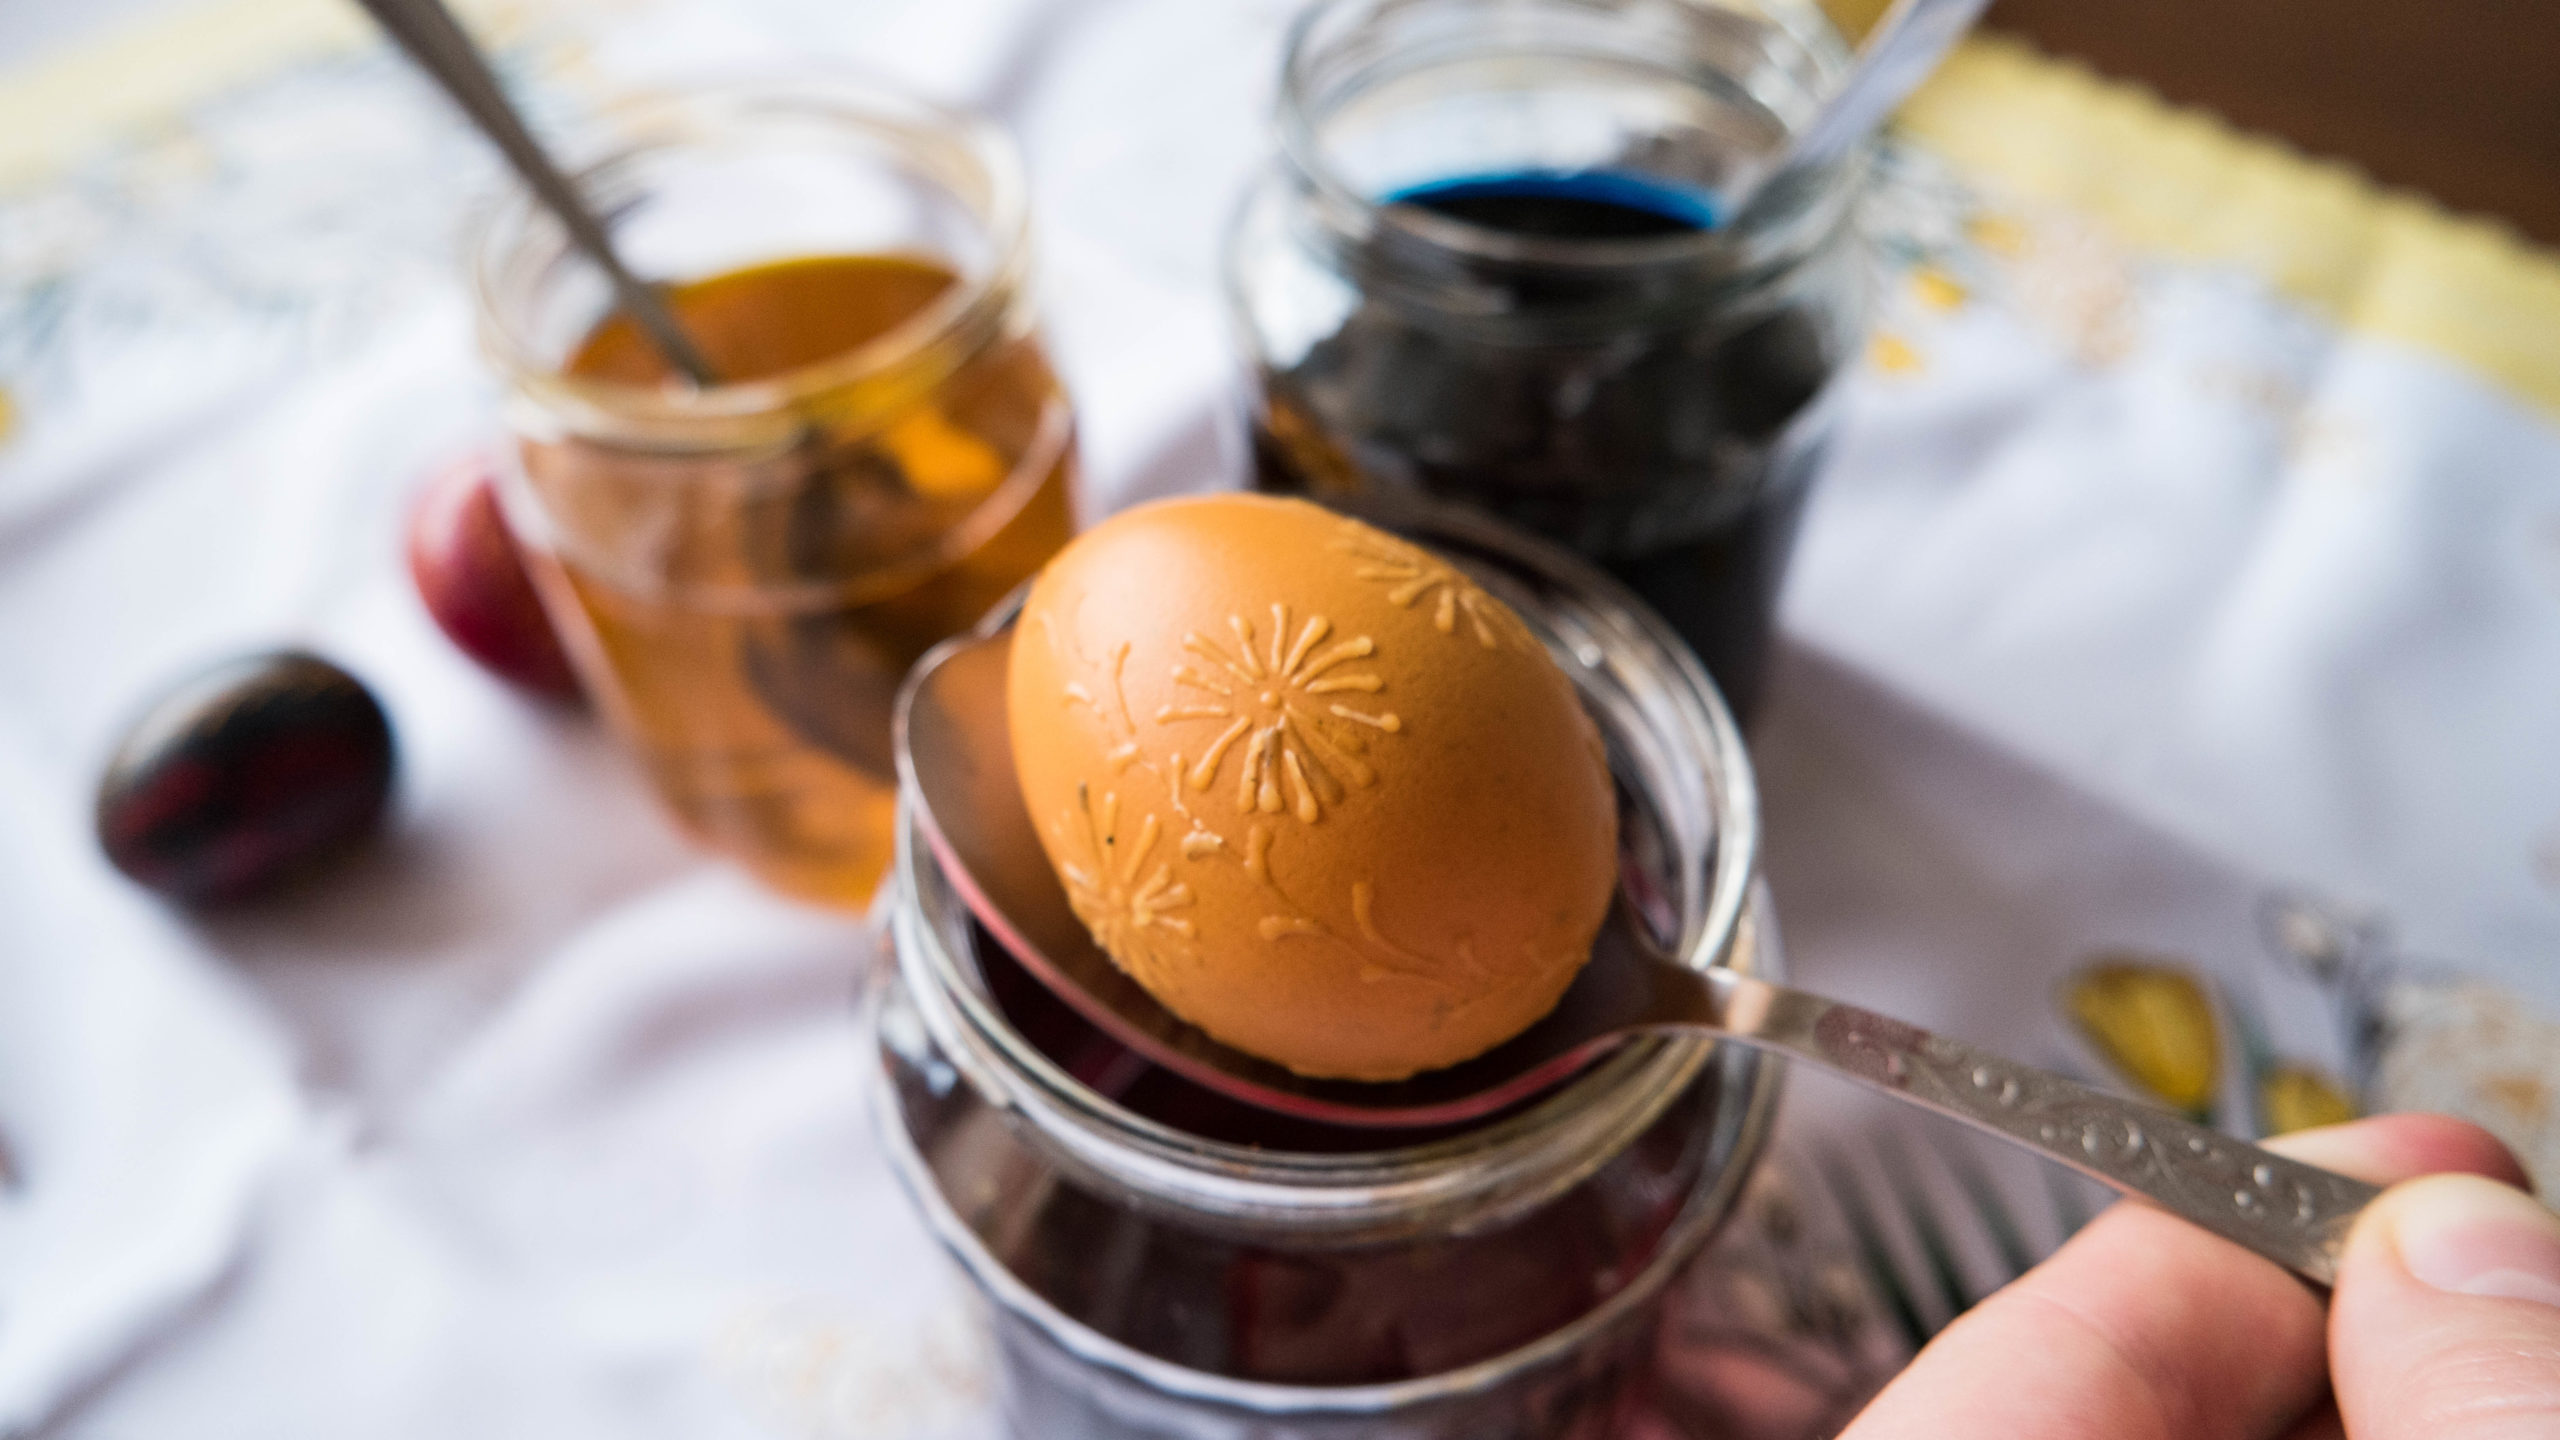
In the meantime, you can start working on the next egg or take a moment to relax and figure out how your pattern will develop. Consider all the shapes and decorative elements you would like to be featured – flowers and leaves, geometric shapes, a kind message or even some animals. Check up on your egg here and there to assess the intensity of your desired colour. When the time is right, fish the egg out from the container and dab it dry with a paper towel. Admire your work and decide on the next steps – you can finish here or go for one more colour.
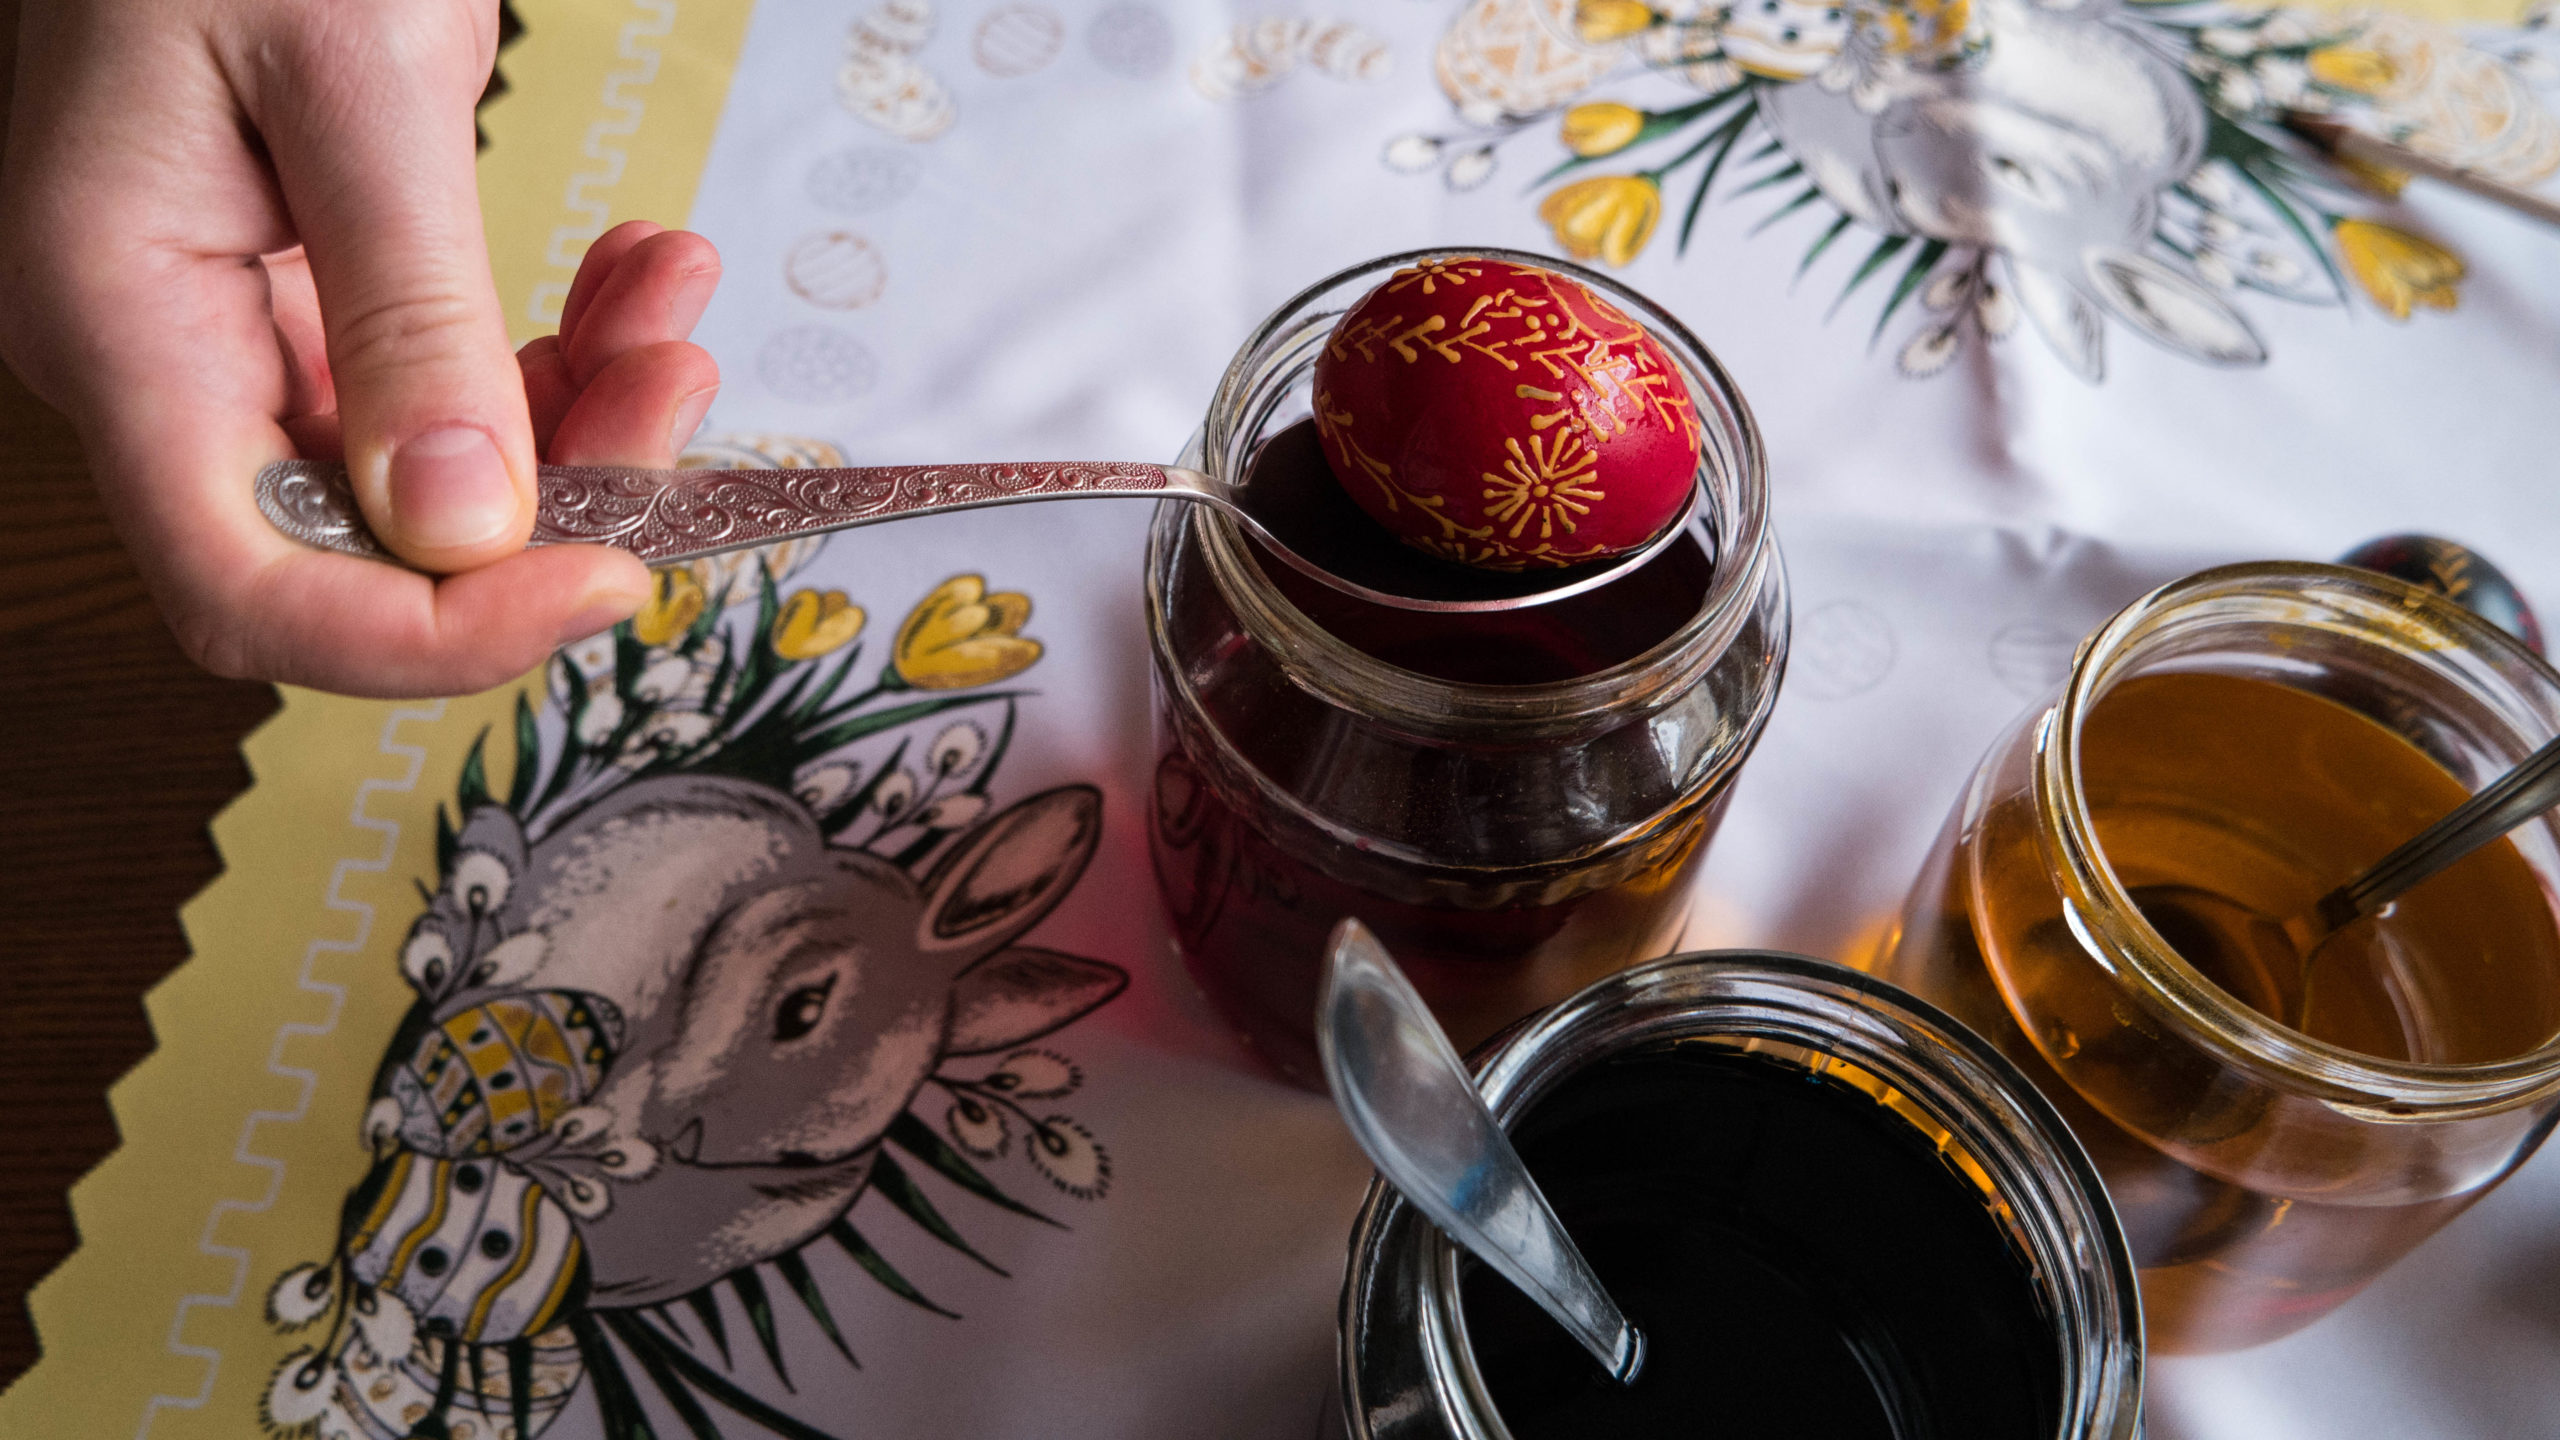
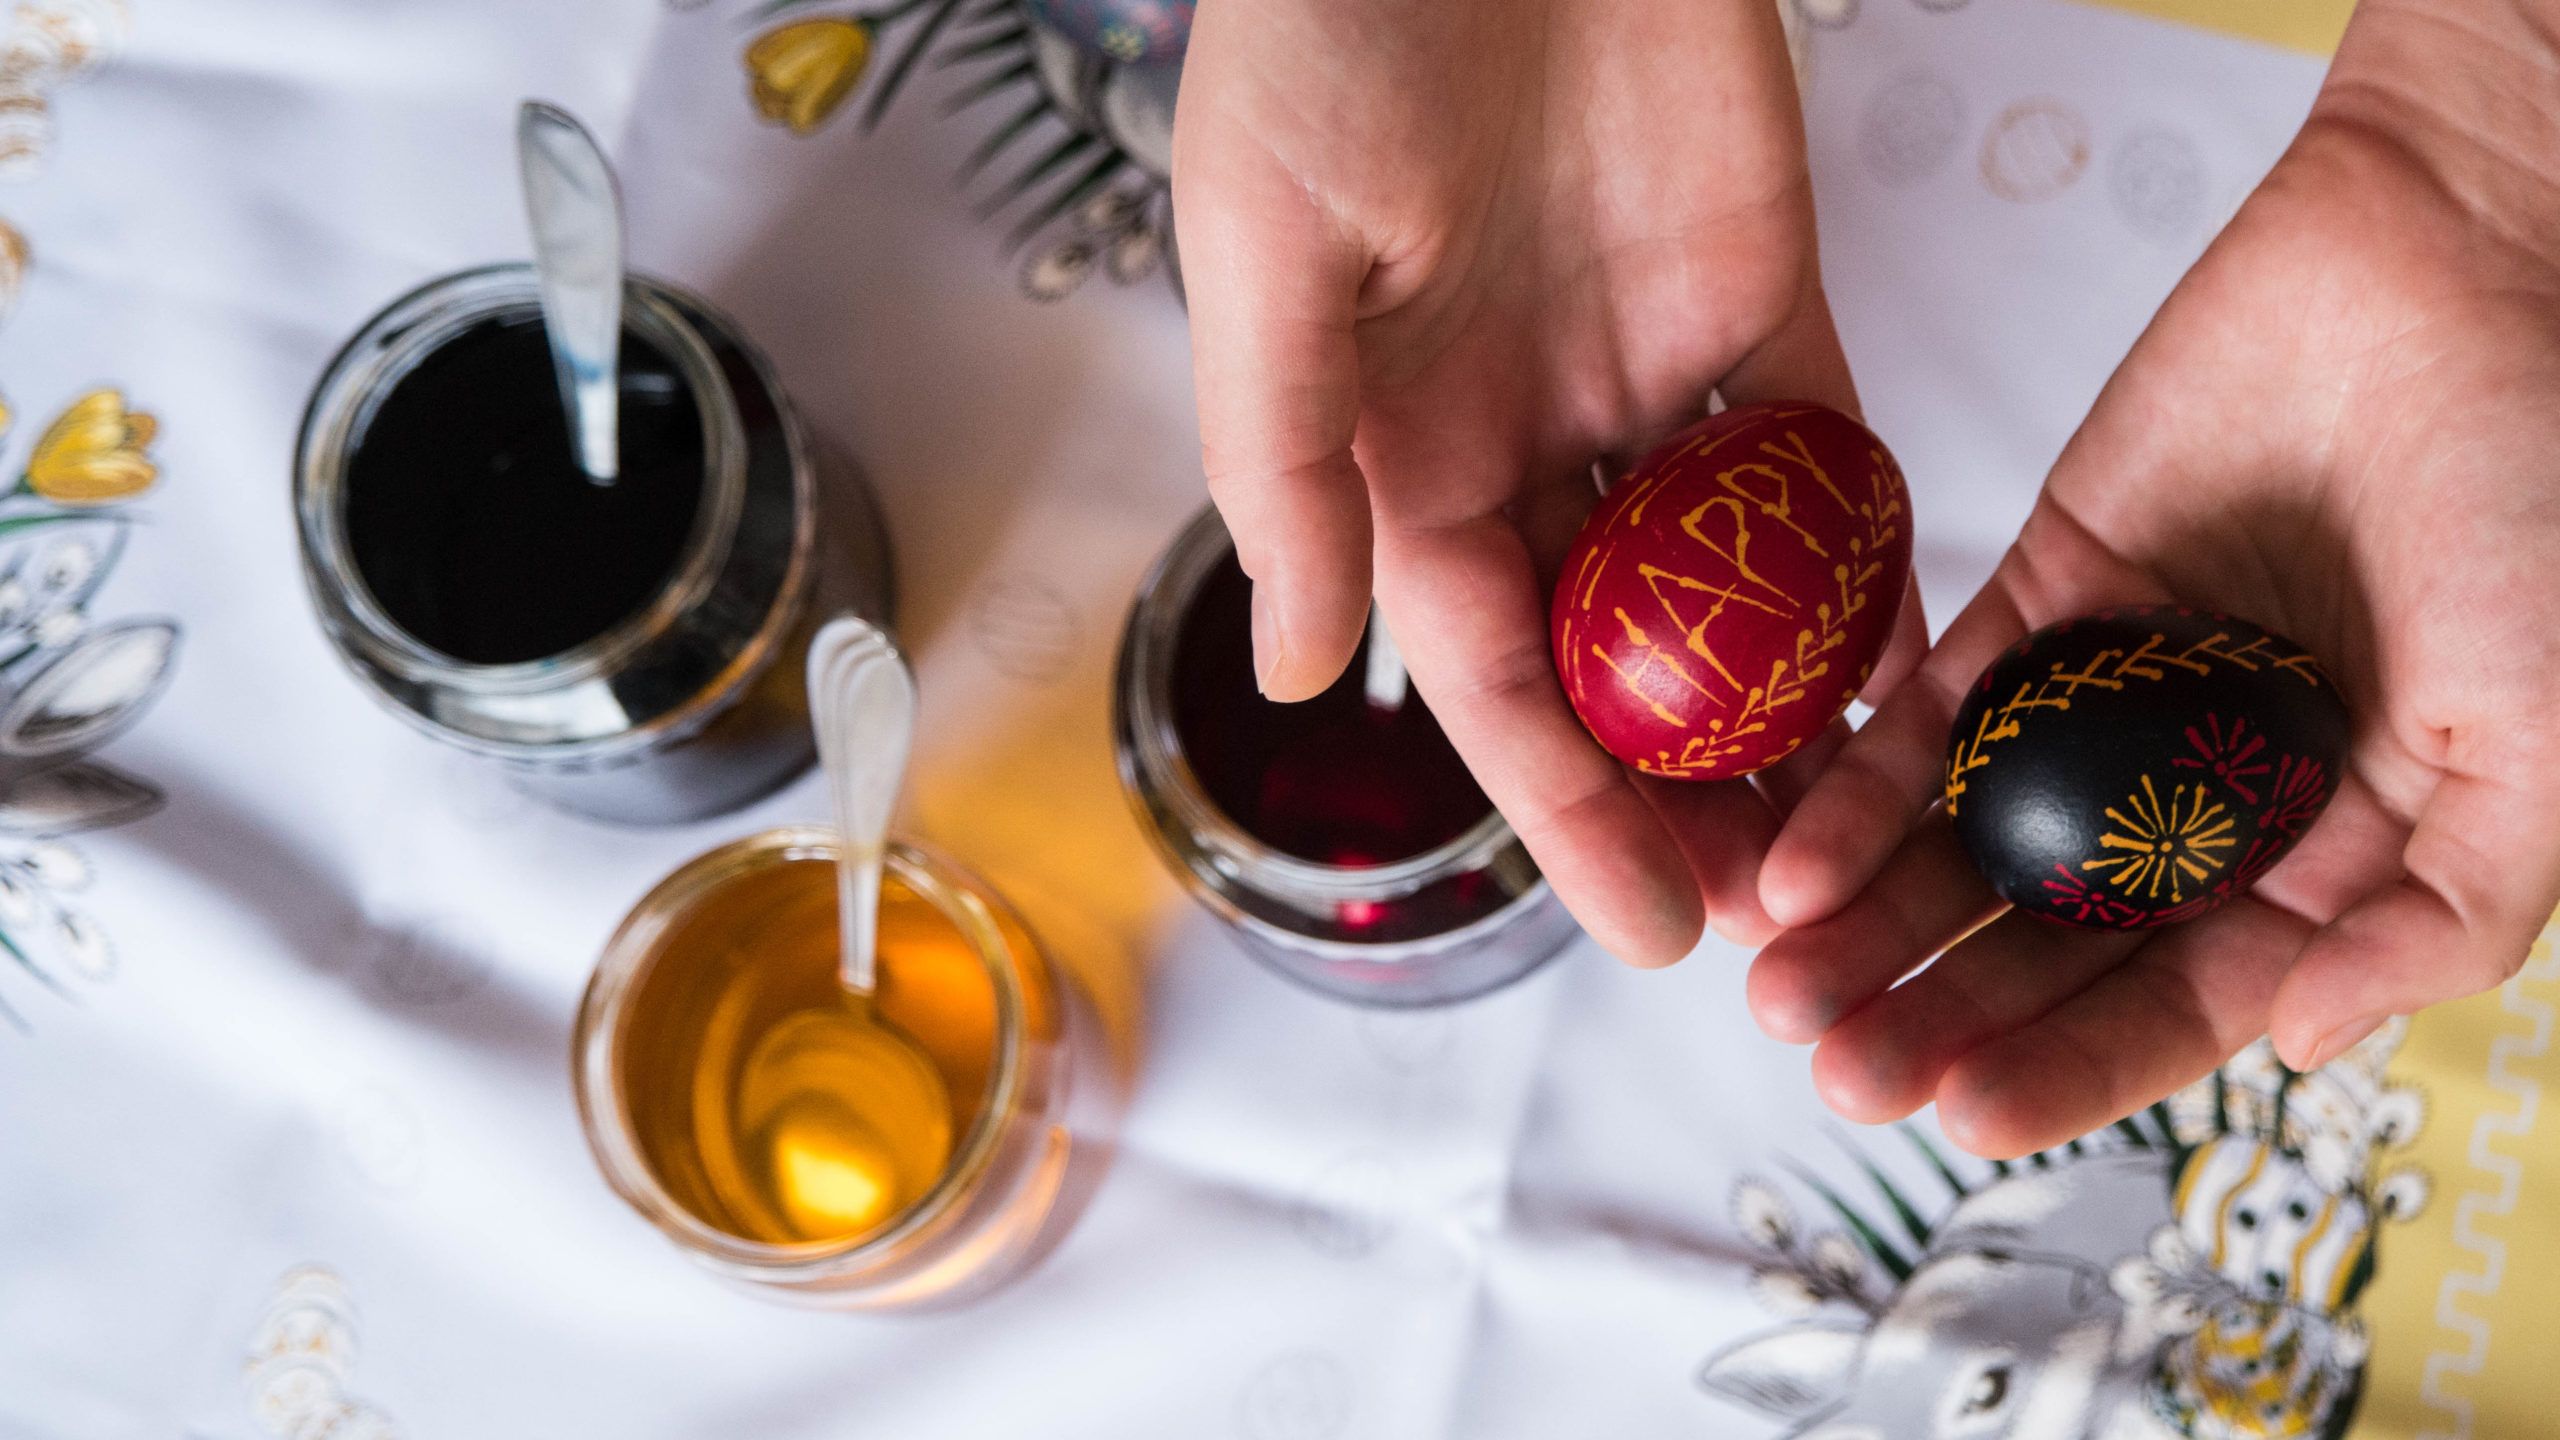
While planning your pattern, think about the order of colours and try to get into the mindset of working with a negative. When you are done adding details in the second colour, let the egg sit in the darkest dye – typically, blue would be recommended. When you reach the desired shade, take the egg out and dab it dry with a paper towel. Well done, you have yourself a kraslice! Eggcelent!
Finishing touches
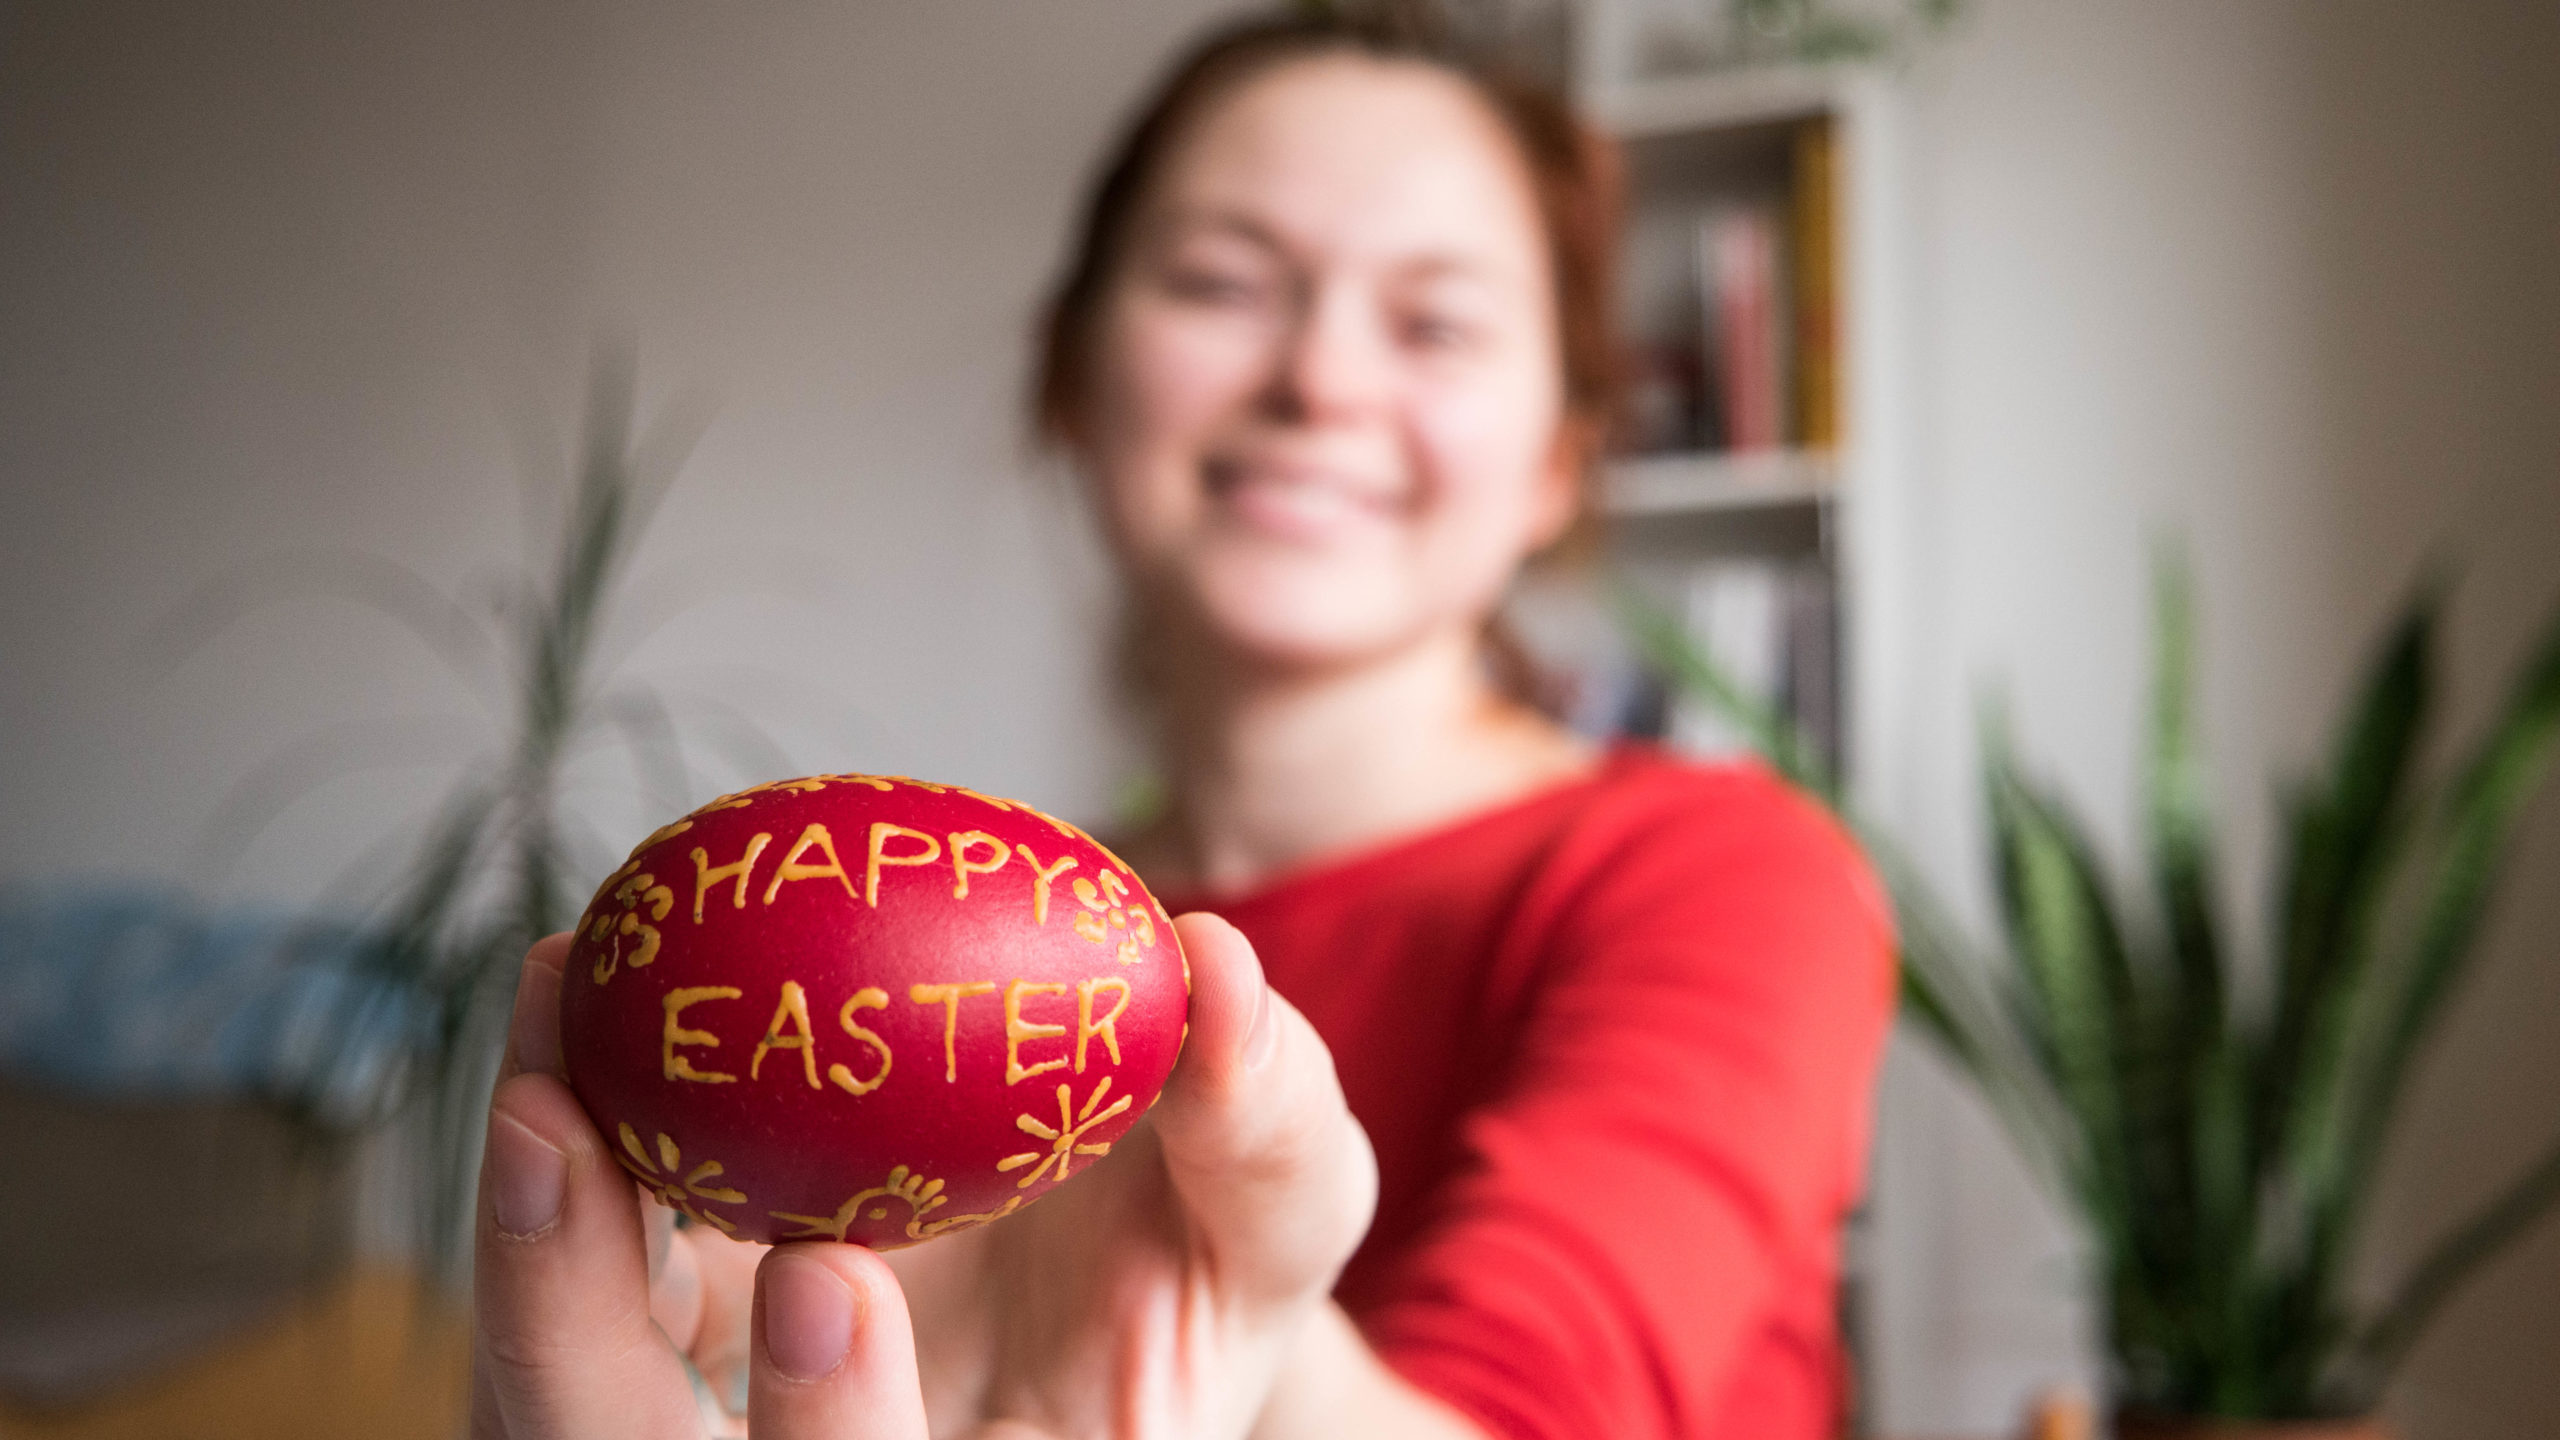
After the egg has dried completely, you might want to get rid of the wax. After all, our creative process is over! The easiest way to go about it is by using the same candle that helped us create the decorations. Bring the wax on the egg close enough to the fire, so that it melts, and then polish the wax away with a cotton cloth. It is going to take a while, but the result is worth it! If you are looking to add a proper traditional feeling to it, there is one more thing to be done – take a small piece of lard (or few drops of olive oil) and polish the eggs with it – they will be all shiny and festive, ready for the Easter!
March 29, 2021

